Oticon ON App TUTORIAL – Oticon Hearing Aids
Oticon ON App TUTORIAL – Oticon Hearing Aids
This Oticon ON app tutorial will show you how to control Oticon hearing aids and accessories so you can further customize settings and enjoy all the features of this exciting technology.
SUBSCRIBE to our YouTube channel for weekly videos!
Hi, I’m Dr. Derek – audiologist, audio engineer, and musician with ProFitHearing.com bringing you the best insight in today’s latest hearing aids, headphones, and audio technology to improve your life. If you have concerns about your hearing, always consult with your local physician or audiologist.
If you’re interested in hearing aids, check out my free eBook HERE.
Oticon ON App TUTORIAL
The Oticon ON app is available for iPhone, Apple Watch, iPad and Android devices. This app is compatible with many Oticon hearing aid models including the Oticon More, Open, Xceed, Ruby and Siya.
When you first open the app, you’ll be prompted to pair the device with hearing aids if you haven’t already. Today, I’ll try without hearing aids to enter the demo mode.
Volume and EQ
Now, you’ll see the remote control screen. In the middle is the volume control for the left and the right hearing aids. Zero is the level that your audiologist has set for you, but if you want to increase your volume you can go up. If you want to decrease your volume you can go down.
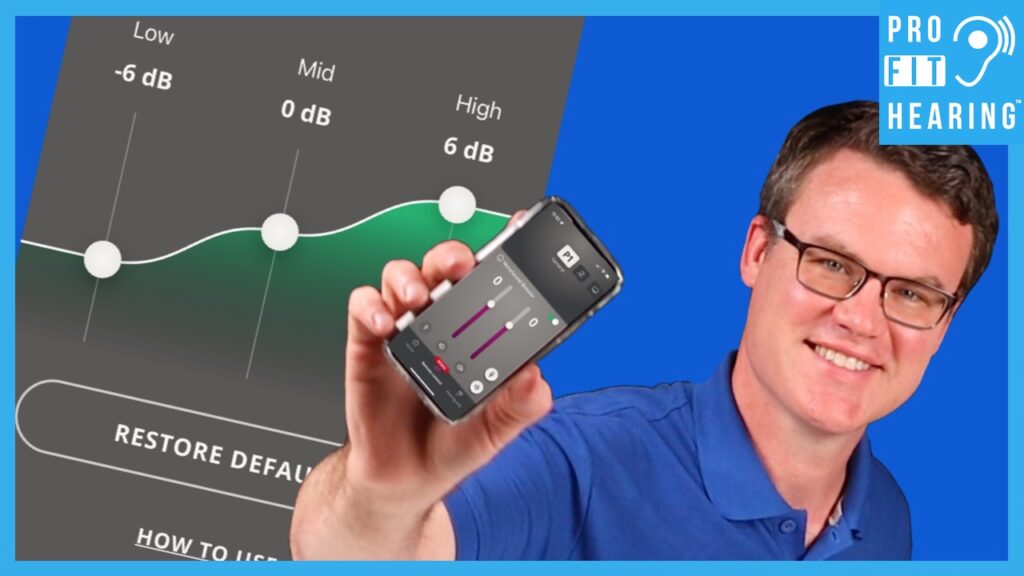
You can also click the slider in the lower left hand corner so it combines the left and the right ear together. This way if you adjust your volume it will adjust both ears. You also have the option to mute if you hit the speaker icon. The white button on the right that looks like a waveform is the streaming equalizer. This allows you to adjust your low, mid and high frequency sounds to shape the sound quality to your preferences.
Remote Microphone
Just above the waveform button is a white button that looks like a microphone. If I click on that button, it asks for access to my microphone. This enables the iPhone to become a remote microphone. So, if I wanted to turn this feature on I could set my phone across the table next to the person I wanted to hear better. Then, that would pick up their voice and transmit it directly to my hearing aids.
The MoreSound Booster option reduces background noise even more. This takes down the noise from the back and the sides of you so you can understand speech more clearly.
Program Adjustment
Along the top of the screen you can select from different programs that have been set up by your audiologist. In this example we have P1 General or Program 1, tinnitus sound, TV adapter/EduMic and remote microphone.
You can have up to four programs plus you can adjust your accessories and have a tinnitus program. As I select between the tinnitus and accessory programs, an environment tab appears. The environment tab adjusts the environmental sound level so you can balance the input audio from an accessory or a tinnitus program with the sounds that are occurring around you. So if I wanted to reduce the environmental sounds around me I could reduce them with the volume slider, or I can hit the mute button in the middle. This would allow me to hear just the remote microphone.
Accessories
Same thing with the TV adapter or EduMic. If i wanted to go to the environmental tab I could mute it and that would shut off the microphone on my hearing aid so that I’m only hearing the TV or the EduMic. Now if you’re not familiar with the EduMic, the EduMic is just another type of remote microphone. The green button that’s at the lower right of the screen is the streaming equalizer. This adjusts the sound quality of incoming streaming audio.
Tinnitus
So let’s go back and look at the tinnitus sound program. Tinnitus sound support is to be used as part of a tinnitus management program with your audiologist for patients over 18 years old. You can use these sounds to help take your mind off the tinnitus. The three dots at the lower right give you access to advanced tinnitus options. Tinnitus sound vibrations control whether the tinnitus sound is constant or have different intensity modulating waves. You can also adjust the sound equalization and the app remembers your settings.
Enjoying this Post?
Now if you’re enjoying this post so far, check out our YouTube channel https://www.youtube.com/profithearing. If you want the best insight into today’s latest hearing aids, headphones, and audio technology to improve your life, make sure to subscribe.
Hearing Aid Information
So far we’ve just looked at the remote control section. At the bottom of the screen click on Home. The hearing aids screen can be accessed here or at the bottom right hand corner of the screen. The hearing aids section allows you to check your battery life. So in this example, it’s saying 100% battery life on the left and the right ear.
I can also click on the left or right hearing aid and see the firmware and serial number. There’s also a feature to Find my Hearing Aids. So if you happen to take your hearing aids out and leave them someplace, this app will help you find them. OK, let’s click on the Home button again.
Hearing Fitness
You can also see you have the option of Hearing Fitness. This part of the app allows you to set personal listening goals and track daily hearing aid use statistics. As you can see, you can set your goal of the number of hours per day you want to use your hearing aids. Ideally, we should be wearing our hearing aids all day long but in this case we’ll say we have a goal of wearing our hearing aids for eight hours a day.
Statistics
Down below it shows me how many hours I’ve used my hearing aids in each program. So for program one, I’ve used the hearing aids for five hours and 52 minutes. For the tinnitus sound program number two, I’ve used the hearing aids for three hours and 51 minutes. And then I’ve used a TV streamer for two hours and 56 minutes. So I’ve completed my goal 196%.
I can also look at my weekly statistics and my monthly statistics. So you can see since this started in December the use of the hearing aids has increased dramatically. So that’s great, we want to continue using our hearing aids consistently throughout the day and every day.
IFTTT
OK, go ahead and click on the Home button and Internet of Things. This allows you to connect automation of everyday tasks to your hearing aids. So, for example you can get a hearing aid battery low notification on your phone or you can get notified by your hearing aid whenever the doorbell rings. This is based on a technology called IFTTT or If This Then That. To use this feature, you do need to create an Oticon account.
Additional Info
Now, if i go back out to the main screen I can click on hearing guide. This provides information related to hearing aid use and hearing loss. Click on the Home button and now Settings. This allows you to change your account settings and notifications.
So those are all the features of the Oticon ON app for iPhone. In addition to the iPhone, you can also use your Apple Watch. The functionality of this app for Apple Watch is more limited but it can give you quick adjustments that are easily accessible.
Oticon ON app – Your Thoughts?
The Oticon ON app is a convenient way to quickly adjust hearing aids with an iPhone, Apple Watch, iPad or an Android device. This app also gives you access to additional features and hearing aid functionality.
So which feature within the Oticon ON app do you think would be most helpful for everyday use? Let me know in the comments. If you received value from this post, go to https://www.youtube.com/profithearing and check out all the videos on our YouTube channel.
-Dr. Derek