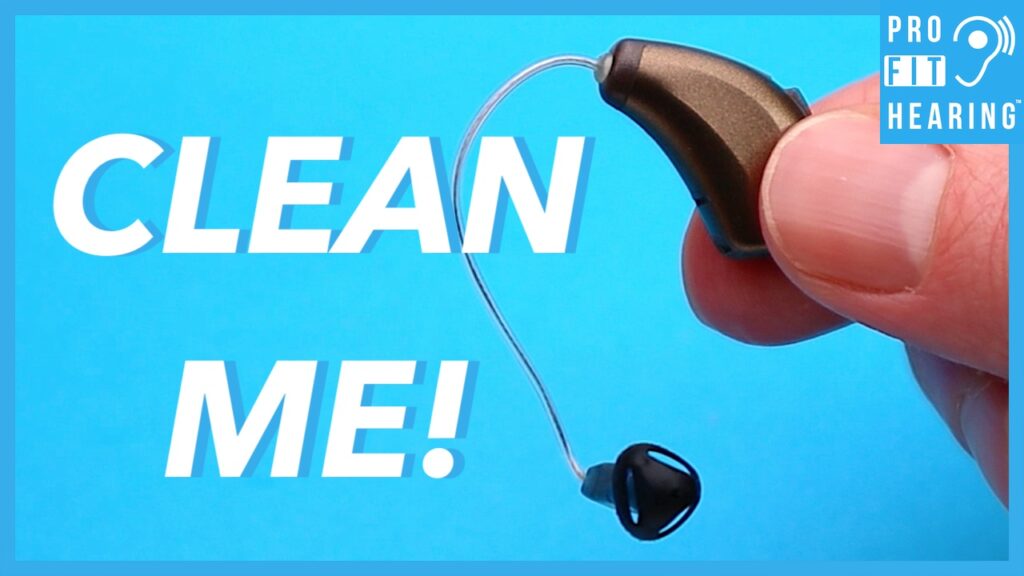
Hearing Aid Cleaning in 5 EASY Steps – Open Fit Hearing Aids
Hearing Aid Cleaning
Regular hearing aid cleaning is essential for all hearing aid users. Don’t waste any time wearing dirty hearing aids that are clogged up and sound weak. In this post, I’ll show you how to clean an open fit hearing aid in 5 easy steps. Coming up!
SUBSCRIBE to our YouTube channel for weekly videos!
Hi, I’m Dr. Derek – audiologist, audio engineer, and musician with Pro Fit Hearing.com bringing you the best insight in today’s latest hearing aids, headphones, and audio technology to improve your life. If you have concerns about your hearing, always consult with your local physician or audiologist.
If you’re interested in hearing aids, check out my free eBook HERE.
Hearing Aid Cleaning Steps 1-5
*Watch video above for visual step-by-step guide.*
Today, I’m talking about hearing aid cleaning for open fit hearing aids. An open fit hearing aid sits behind the ear and has a small ear tip on the end. This small tip can get clogged with wax and make the hearing aid sound weak or completely dead.
Step 1
Any time you take out your hearing aids, look at the ear tip (or ear dome) and make sure there is no ear wax build-up. If you see ear wax, take a cleaning brush and brush it off.
Step 2
After the ear wax is brushed off, remove the tip with your fingers. Now you can run a small wire through the tip and look at the opening to make sure it is clear.
Step 3
Next, take a look at the piece directly underneath the ear tip. This white piece is called the wax guard. Brush off the wax guard and check to see if it’s clear of ear wax. The wax guard on this hearing aid is clean. However if you still have wax down inside after brushing, the wax guard should be replaced.
Your hearing healthcare provider can provide you with new wax guards. Each hearing aid manufacturer has a slightly different wax guard, so please follow their specific directions for replacement. New wax guards typically come on a small plastic stick. There’s a new guard on one end and a removal tool for the old wax guard on the other end.
Step 4
Now that everything is clean, put the ear tip back onto the hearing aid. Make sure the ear tip is pushed all the way back on and securely in place.
Step 5
Gently brush the microphone covers near the top of the hearing aid and check for any clogged openings. Make sure you have a good battery in your hearing aid, close the battery door, and cup the hearing aid in your hand. The hearing aid should now start to whistle as you hold it. If not, the hearing aid may need servicing by your provider.
Most Helpful Hearing Aid Cleaning Tip?
Which tip did you find most helpful? Let me know in the comments below. If you received value from this post, go to https://www.youtube.com/profithearing and check out all the videos on our YouTube channel.
-Dr. Derek